LVGL is an open-source, free library for creating graphical user interfaces on embedded devices. It has a wide range of features and integrations, making it ideal for building both simple and complex interfaces. It offers a broad selection of components. Thanks to ready integrations with external libraries, it is possible to use images in PNG, JPEG, or WEBP formats; animations in Lottie format; fonts in TrueType, OpenType, or WOFF formats; it is even possible to load 3D models in glTF format. The library supports microcontrollers from manufacturers such as: STMicroelectronics (STM32 series), Espressif, or NXP.
LVGL can leverage the capabilities of modern microprocessors for HMI applications. It features an advanced rendering engine that supports drawing arcs, semi-transparent elements, and gradients. Additionally, it has built-in drivers for dedicated graphics units present in some microprocessors.
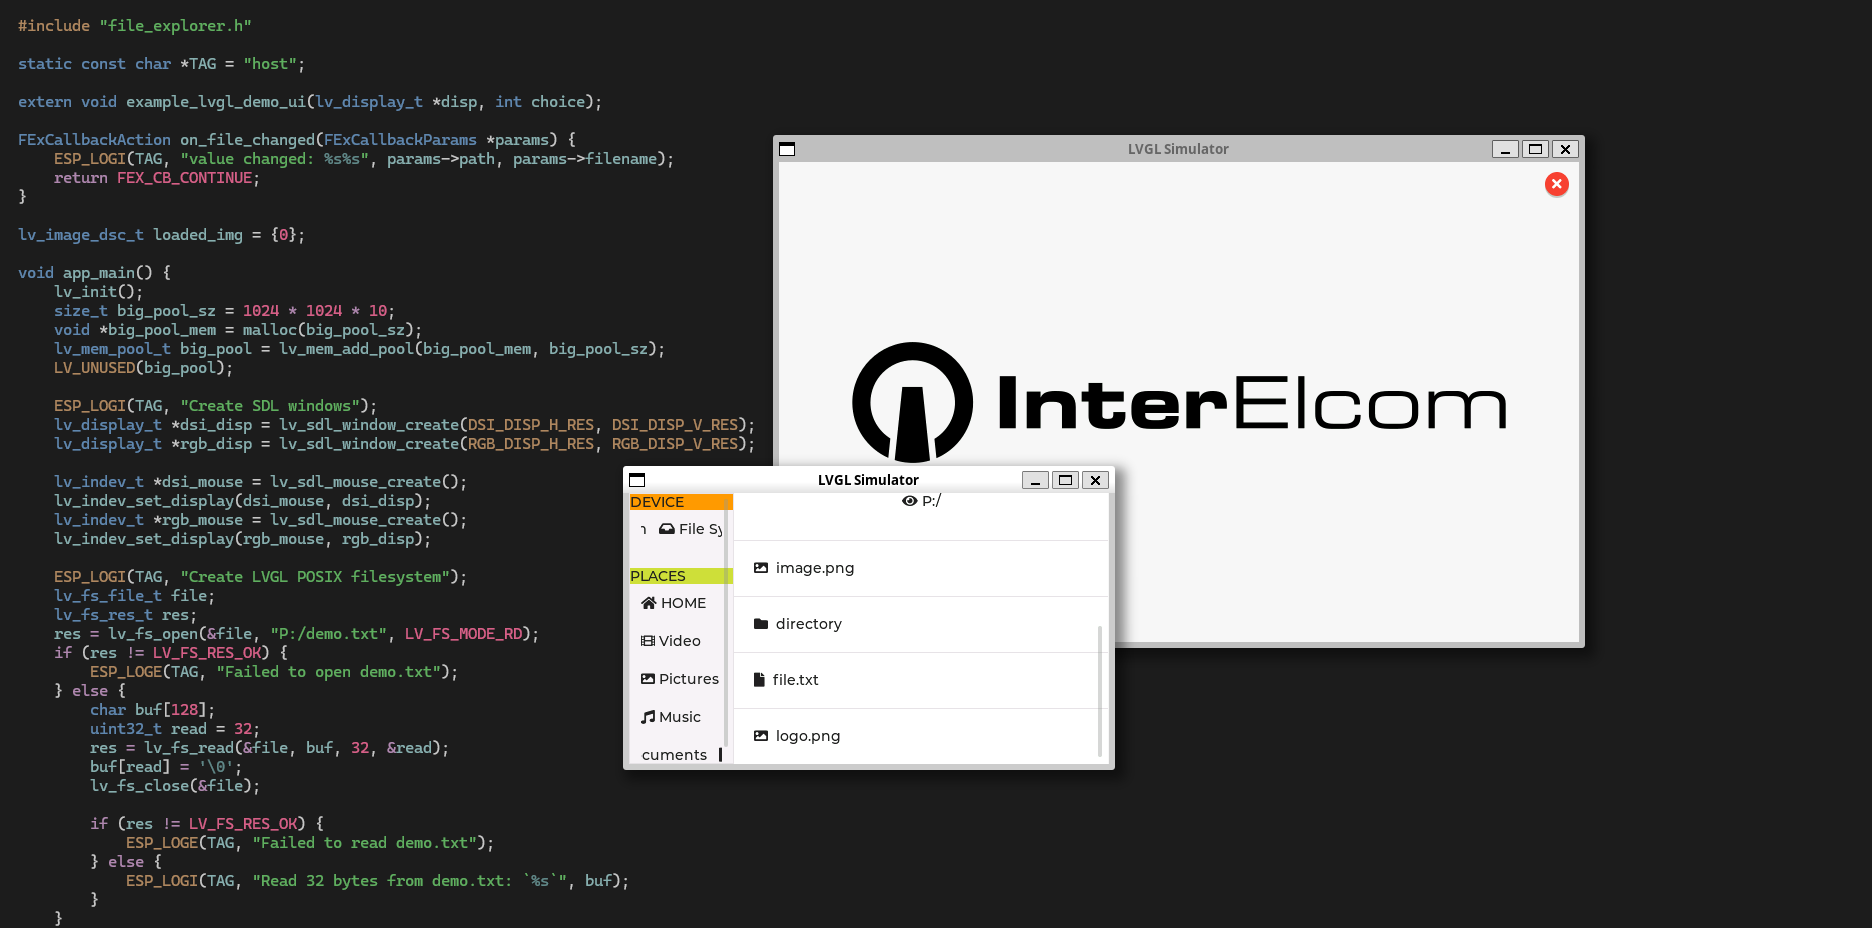
The library can be limited to be used in lower-end systems. In the configuration file, all unused elements, support for various color formats, external libraries, and other features can be disabled to reduce batch file size. It is also possible to use a less advanced rendering engine to reduce CPU load. The library does not require much memory, although this depends on the number of created elements.
Getting started
First, you need to install the library and include it in your project. The procedure varies depending on the project type. For example, in projects using ESP-IDF, it is enough to add the dependency lvgl/lvgl. It is also possible to add the library code directly to the project.
The next step is configuration. This is done by editing the lv_conf.h file or using the Kconfig tool. In the configuration, you can set the amount of available memory and its allocation method, enable or disable various functionalities, including external libraries or available interface elements.
Before use, initialize the library by calling the lv_init() function. Then create an instance of the display lv_display_t using the lv_display_create() function. The first display created after initialization becomes the default display. Some functions accept NULL instead of an lv_display_t instance; in such cases, the default display is used. Along with the display, a screen is created, which is a UI object representing the root of the object tree on that display. The active screen instance can be obtained by calling lv_display_get_screen_active().
The interface is built from elements called objects in LVGL. The elements are arranged in a hierarchy in the form of a tree. Functions for creating objects take a parent element as a parameter. The parent can be any element, including an empty element, allowing grouping of elements. This mechanism is similar to using a div tag in HTML. Detailed descriptions and a list of elements can be found in the library documentation.
Elements on the screen can be positioned absolutely, by directly setting their coordinates using lv_obj_set_pos()/lv_obj_set_x()/lv_obj_set_y(), or dynamically relative to the parent with lv_obj_align() or to another object with lv_obj_align_to(). It's worth noting that position is automatically recalculated only if linked to the parent (i.e., when the parent changes its position).
The appearance of elements can be changed using styles. Style properties can be set directly for a given object or by creating an lv_style_t instance, setting the appropriate properties, and applying it to multiple components using lv_obj_add_style(). The mechanism is similar to classes in CSS, especially since LVGL styles also work cascadingly. A complete list of style properties is available in the library documentation.
To add input device support (touch panel, mouse, keyboard), create an lv_indev_t instance and link to it (lv_indev_set_read_cb()) a callback function that will read data from the device. For touch panels that support multiple simultaneous touch points (multitouch), create a separate lv_indev_t instance for each point. Input devices are handled in polling mode, meaning they will be read automatically at intervals.
Counter up/down
Below is shown how to implement a simple application. The app stores the counter state and displays it on a label. The user can decrease the counter with the “-” button or increase it with the “+” button.
For convenience, the possibility to use the SDL library as a runtime platform was used. This allows testing directly on a computer without the need for a microcontroller with a display. The SDL2 library must be installed, and LV_USE_SDL set to 1 in the config file to enable integration with it.
At the beginning of the program, call the initialization function, create the display, and also the input device. For SDL2, both are already implemented in LVGL, so just call the ready-made functions. At the end of the main function is the event loop handler, responsible for refreshing the UI in response to various events, such as detecting and processing a click from the touch panel. 
The first element to be added is a label to display the result. It will be added directly as a child of the default active screen. The label will be centered on the screen using lv_obj_align. This function also takes pixel offsets from the reference point, here set to zero on both axes. The function lv_label_set_text_static was used instead of lv_label_set_text because a text literal that exists throughout the program’s execution was passed as an argument, so there is no need to copy the text to the label’s internal memory.

Next, two buttons labeled “+” and “-” will be added. When adding buttons, the possibility to add an offset in lv_obj_align was used to slightly move them away from the edges. The button itself does not store text or images displayed on it; these are separate elements that have the button as the parent. In this case, adding a label was sufficient since LVGL provides a set of symbols in font form. The full list of symbols is available in the library documentation.

To make the application interactive, callback functions must be added to the buttons, called when pressed. The counter value is stored in the global variable g_counter. To access the label, the tree access functions lv_obj_get_parent and lv_obj_get_child were used. Argument 0 means access to the oldest (first added) child. The function also accepts negative values, which reverse the access order; -1 means access to the last added child.

The function lv_obj_add_event_cb is used to connect callbacks to events. The third parameter of this function is an event filter, so one function can process various events. The fourth parameter is a void* user parameter passed to the callbacks.

The appearance of elements can be changed by setting properties directly on the element or using styles. Styles are useful when several elements should have the same appearance, avoiding repetition. They work cascadingly, meaning properties of one style can be overridden by another added later. In the example, two buttons have the same appearance. So it is a good idea to use styles for them.

Elements have different states depending on user interaction, e.g., when the cursor hovers over the element, when it is pressed, or when nothing happens. Different styles can be assigned to different states, with cascading behavior. When adding a style to an object, a selector indicating the state in which the style is active must be provided. This mechanism is similar to CSS pseudoclasses. For individual changes or elements, styles can be set directly on the element.

The application logic can be implemented using the observer design pattern. LVGL provides an observed object lv_subject_t to which observers can be attached. Some elements have built-in special functions that facilitate operations on observed objects. For example, a label’s text can be bound to such an object, so it automatically updates whenever the observed value changes. Another example is a button that changes the current value when pressed. You can also attach your own observer as a callback function.
The implementation would look like this: the global counter variable is replaced with an lv_subject_t instance. The label’s text is bound to the observed object using lv_label_bind_text. Buttons automatically add +1 or -1 to the current value when clicked. This is done using lv_obj_add_subject_increment_event, which adds an increment to the observed object’s value as the event handler for the specified event.
Below is the code to use lv_observer_t. The callback functions s_on_down_clicked and s_on_up_clicked will not be needed, nor will the initial label text initialization.

Text editor application example

As an example of a more complex application using vector fonts, file system integration, and advanced UI elements, a text editor is presented. The UI is inspired partly by traditional desktop applications, through the use of a toolbar, and partly adapted for touch screens by the on-screen keyboard. Ready-made library elements are used without major changes, as well as custom elements created based on these.
Elements are arranged using a flex layout. The keyboard, text field, and toolbar are arranged in a column. The toolbar itself is a flex container in row direction. Automatically calculated spacing between elements is supported and used to position a close button. LVGL’s flex layout is similar to CSS’s and is very convenient for easily placing components on screen.

An advanced example is the file save (and open) dialog box. It uses the lv_msgbox element, which in its basic form is used to display short messages to the user. The main part is a label with message text. However, it can instead contain multiple elements and be treated as a general-purpose window. The file list is built based on a table with a custom draw function. This requires much less memory than a list of labels.
Thanks to the stb_truetype library, LVGL supports vector fonts in TrueType format. To use this, enable the Tiny TTF font engine in the configuration. An element’s font (e.g., a text field) can be changed during application runtime. The modified element is automatically marked for redrawing. The Tiny TTF engine supports resizing fonts. Size can be changed at any time after loading the font. Remember to manually mark a style change so elements using it refresh automatically. UTF-8 encoding support allows full use of multilingual fonts. A wide selection of open TrueType fonts is available on Google Fonts.
The application uses the lv_fs module for file handling, which provides a common interface for many file systems. Several implementations are available, including those based on the standard C library interface, POSIX API, or Win32. Multiple implementations can be supported simultaneously. Paths start with a capital letter identifying the file system driver. For example, P: can be assigned to POSIX and W: to Win32. In this case, path P:/home/user/file.txt is handled by POSIX, and W:C:\Users\user\file.txt by Win32.
Summary
LVGL has wide applications ranging from simple interfaces on very resource-limited hardware to very sophisticated interfaces resembling mobile applications. Designing is facilitated by a wide selection of ready components that can easily be modified as needed. The styles system as well as flex and grid layouts based on CSS concepts also ease work. Support for file systems, memory allocation, and logs independently of platform allows writing fully portable or easily portable applications. The ability to run on Linux, Windows, or Mac computers accelerates UI design. Therefore, it is a great choice for creating professional graphical interfaces in embedded systems.


